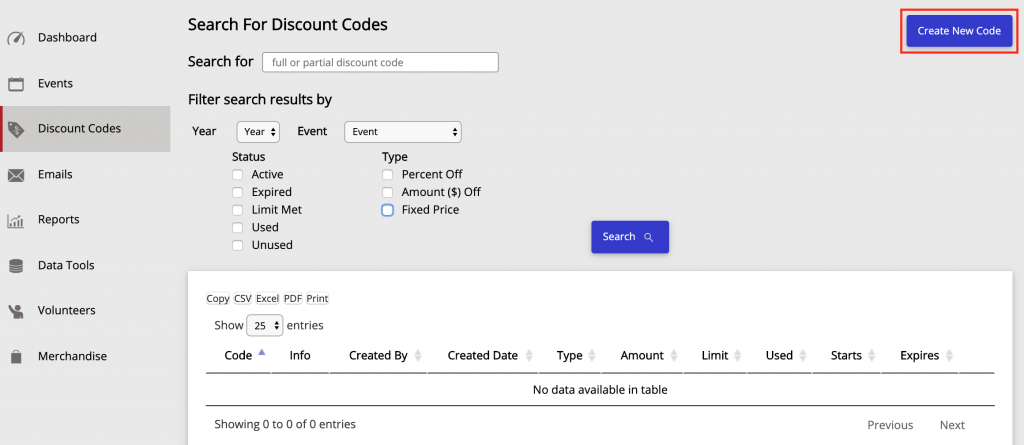
To create a discount code, Click on Discount Codes on the left side bar. Next, Click on the Create New Code button on the top right hand corner of the screen.
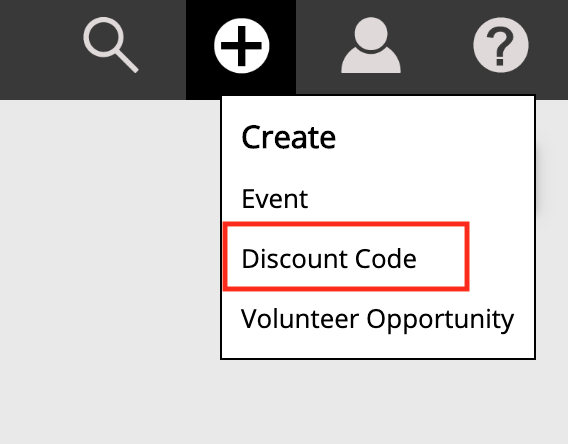
Or, you can Click on the Plus Sign at the top right of the page.
On the new screen that pops up, you will set all your discount code details. Here you will enter a name or let the system auto create a name for your code.
After naming your discount code, you should:
- write a short description of the code
- determine the start/end date for your code’s availability
- select a discount type for your code.
Do you want your code to have:
Once the type of code is selected, enter the amount that will be taken off. Then determine the limit you want to set for the Discount Code. You can set a specific number of uses or you can select the set unlimited uses button to the right.
Using the “Apply Limit on Per Event Basis” check box
If you check this box, you allow the discount code to be used to its limit at all Event’s activities that you assigned for the code.
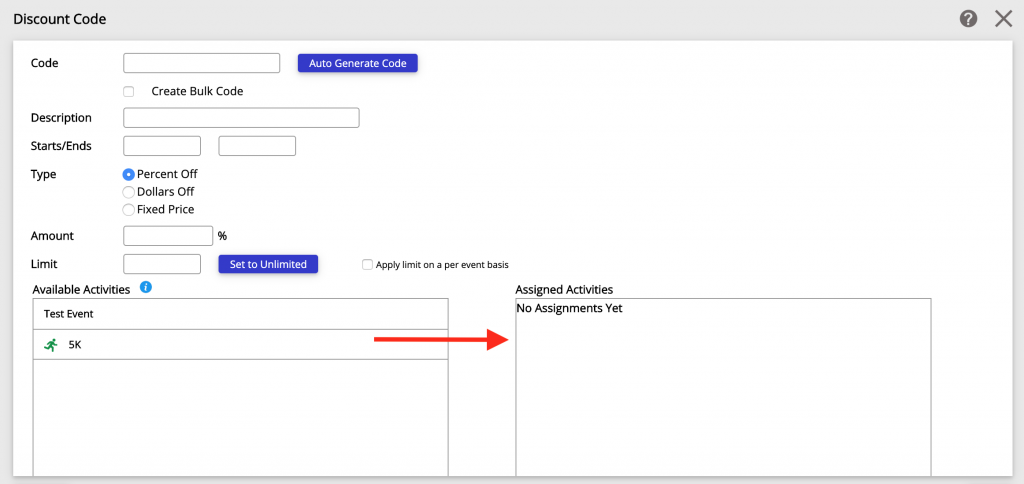
Finally, Select the Activities you want the discount code to be used for and Click Save.
You will see the Event and its’ associated activities listed on the available activities side. When you select an activity, the Event title will transfer over with the activity to the assigned activities side.
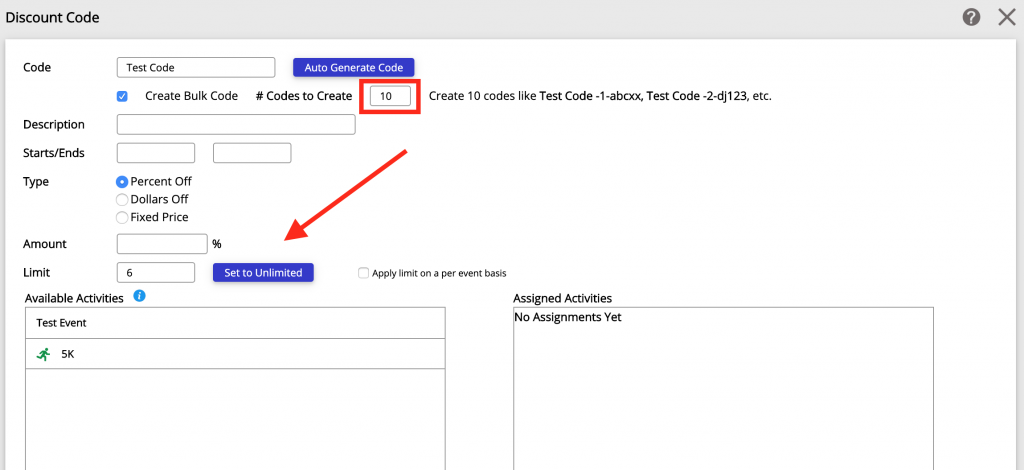
Creating a Bulk Code
Bulk Codes are useful when you need to use the same configuration multiple times. A good example is when you have multiple groups that need the same discount and want to give everyone a unique one-use code.
To create a bulk code you will Check the Create Bulk Code box under the Code Name box. Once checked, you will have to enter how many of these codes you want to create.
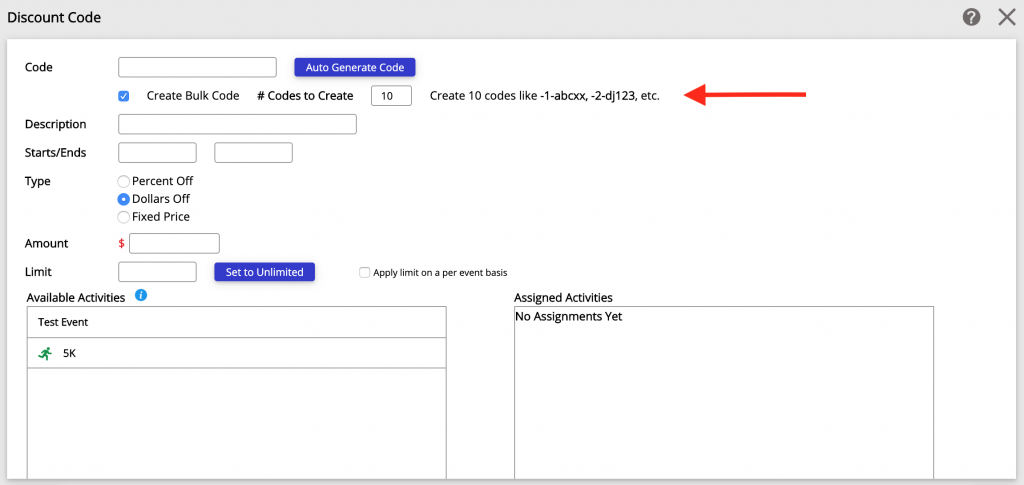
The bulk code generates multiple codes with the same prefix for easy searching. For example, a bulk code with the prefix “ROOKIE” might generate the following codes:
- ROOKIE-01-rmns
- ROOKIE-02-skuw
- ROOKIE-03-spte
You can set usage limits to each bulk code at the bottom of the page where you would set limits to a regular discount code.